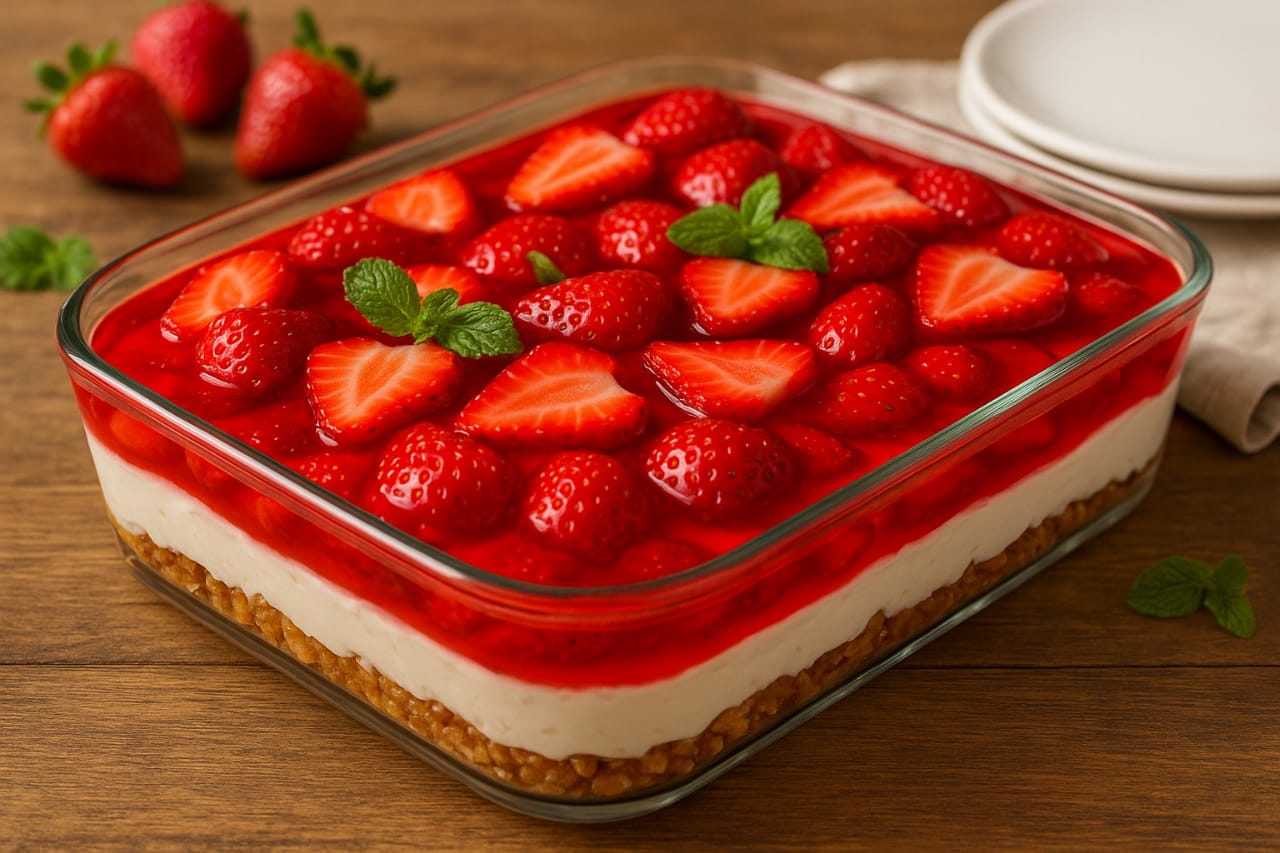
Strawberry Pretzel Salad
Growing up in the heart of the Midwest, summer potlucks were the heartbeat of our small community. I can still hear the laughter of cousins chasing fireflies, the clink of mason jars filled with sweet tea, and the sight of my grandma’s Strawberry Pretzel Salad gleaming like a ruby crown on the dessert table. It wasn’t just a dish—it was a tradition, a hug in dessert form, layered with crunchy pretzels, creamy sweetness, and juicy strawberries that tasted like sunshine. Every bite takes me back to those warm evenings, where love was served by the spoonful. Today, I’m sharing this cherished recipe from my family to yours, so you can create your own memories with this irresistible, crowd-pleasing treat. Let’s make something unforgettable for your next gathering at HomemadeVibes.com!
Ingredients
This recipe serves 12 and is divided into three heavenly layers: a salty pretzel crust, a creamy center, and a vibrant strawberry topping.
Pretzel Crust
- 2 cups (200g) crushed pretzels (use thin, salted pretzels for the best texture)
- ¾ cup (170g) unsalted butter, melted
- 3 tablespoons (38g) granulated sugar
Cream Cheese Layer
- 8 oz (225g) cream cheese, softened
- 1 cup (200g) granulated sugar
- 8 oz (225g) whipped topping (like Cool Whip), thawed
Strawberry Layer
- 6 oz (170g) strawberry gelatin (Jell-O or similar)
- 2 cups (480ml) boiling water
- 1 lb (450g) fresh strawberries, hulled and sliced
- 1 ½ cups (360ml) cold water
Kitchen Tools Needed
- 9×13-inch (23x33cm) baking dish
- Mixing bowls (medium and large)
- Measuring cups and spoons
- Food processor or rolling pin (for crushing pretzels)
- Spatula or wooden spoon
- Whisk
- Sharp knife and cutting board
- Oven and stovetop
- Refrigerator
Step-by-Step Instructions
Let’s bring this nostalgic dessert to life with love and care. Follow these steps, and you’ll have a stunning Strawberry Pretzel Salad that’s as beautiful as it is delicious.
Step 1: Create the Crunchy Pretzel Crust
- Preheat your oven to 350°F (175°C).
- Crush the pretzels into small pieces using a food processor or by placing them in a zip-top bag and rolling with a rolling pin. Aim for a coarse texture, not a fine powder.
- In a medium bowl, combine the crushed pretzels, melted butter, and 3 tablespoons of sugar. Stir until the mixture looks like wet sand.
- Press the mixture evenly into the bottom of a 9×13-inch baking dish, creating a firm crust.
- Bake for 10 minutes, then set aside to cool completely. This step fills your kitchen with a warm, toasty aroma!
Tip: Let the crust cool for at least 20 minutes to ensure the cream cheese layer sets properly.
Step 2: Whip Up the Creamy Layer
- In a large mixing bowl, beat the softened cream cheese and 1 cup of sugar with a hand mixer until smooth and fluffy, about 2 minutes.
- Gently fold in the whipped topping with a spatula, creating a light, cloud-like texture.
- Spread the cream cheese mixture evenly over the cooled pretzel crust, making sure to seal the edges to prevent the gelatin from seeping through.
- Refrigerate for 30 minutes to set.
Tip: Use an offset spatula for a smooth, professional finish on this layer.
Step 3: Prepare the Strawberry Gelatin Layer https://www.homemadevibes.com/berry-trifle-with-angel-food-cake-a-dessert-that-feels-like-home/
- In a large bowl, dissolve the strawberry gelatin mix in 2 cups of boiling water, whisking for 2 minutes until fully dissolved.
- Stir in 1 ½ cups of cold water to cool the mixture slightly.
- Add the sliced strawberries to the gelatin, stirring gently to distribute them evenly.
- Carefully pour the strawberry mixture over the chilled cream cheese layer, ensuring an even spread.
- Refrigerate for at least 4 hours, or until the gelatin is fully set. Overnight is even better for perfect slices!
Tip: Arrange a few strawberry slices on top for a picture-perfect presentation before the gelatin sets.
Step 4: Serve and Enjoy
- Once set, slice the salad into 12 squares using a sharp knife (wipe the blade between cuts for clean edges).
- Serve chilled, garnished with a dollop of whipped cream or a fresh strawberry slice for extra flair.
- Watch your guests’ faces light up as they dig into the sweet, salty, creamy, and fruity layers!
Helpful Tips and Variations
- Make it Ahead: This dessert can be prepared up to 2 days in advance, making it perfect for busy hosts. Just cover tightly and refrigerate.
- Gluten-Free Option: Swap pretzels for gluten-free pretzels to accommodate dietary needs.
- Fruit Swap: Try raspberries or mixed berries for a twist on the classic. Frozen berries work too—just thaw and drain them first.
- Lower Sugar: Use sugar-free gelatin and reduce the sugar in the cream cheese layer to ¾ cup (150g) for a lighter version.
- Mini Versions: Make individual servings in mason jars or ramekins for a cute, portable dessert.
Important Note: Ensure the pretzel crust is fully cooled before adding the cream cheese layer to prevent melting or sogginess.
Nutritional Information (Per Serving)
- Calories: 320 kcal
- Total Fat: 18g
- Saturated Fat: 11g
- Cholesterol: 45mg
- Sodium: 280mg
- Total Carbohydrates: 38g
- Dietary Fiber: 1g
- Sugars: 28g
- Protein: 4g
Note: Nutritional values are approximate and may vary based on specific ingredients used.
Similar Dessert Recipes to Try
Keep the sweet vibes going with these reader-favorite desserts from HomemadeVibes.com:
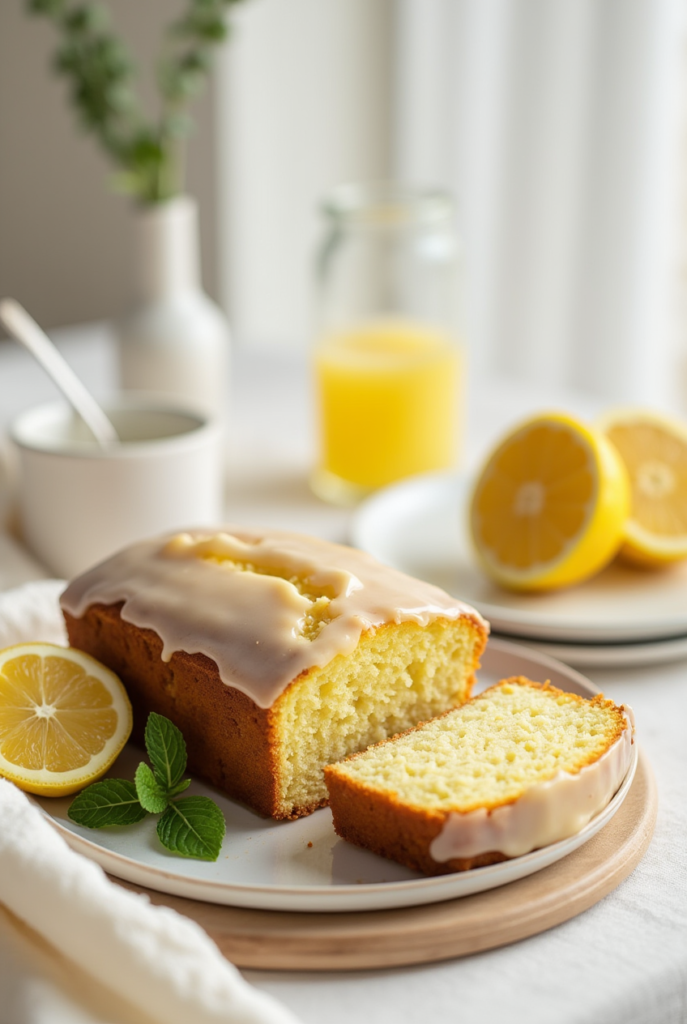
- No-Bake Lemon Blueberry Cheesecake: A zesty, creamy treat with a graham cracker crust.
- Peach Cobbler Bars: Portable, buttery bars bursting with summer peach flavor.
- Chocolate Peanut Butter Lasagna: Layers of decadence for chocolate lovers.
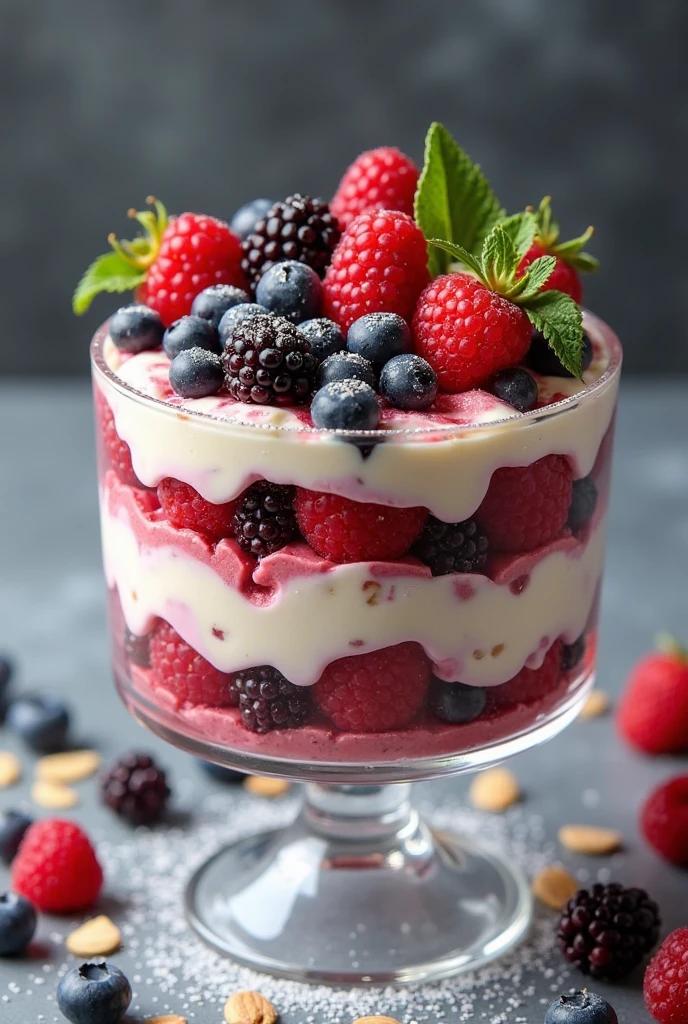
- Berry Trifle with Angel Food Cake: A light, fruity dessert perfect for gatherings.